We asked:
Could artificial intelligence, like ChatGPT, revolutionize the way we invest in the stock market, or will human intuition always be superior?
The Gist:
The article provides a step-by-step guide on how to create your own AI agent using open-source tools and platforms. It covers the process of selecting a framework, training the agent, and integrating it with various applications.

Decoded:
How to Get Your Own AI Agent
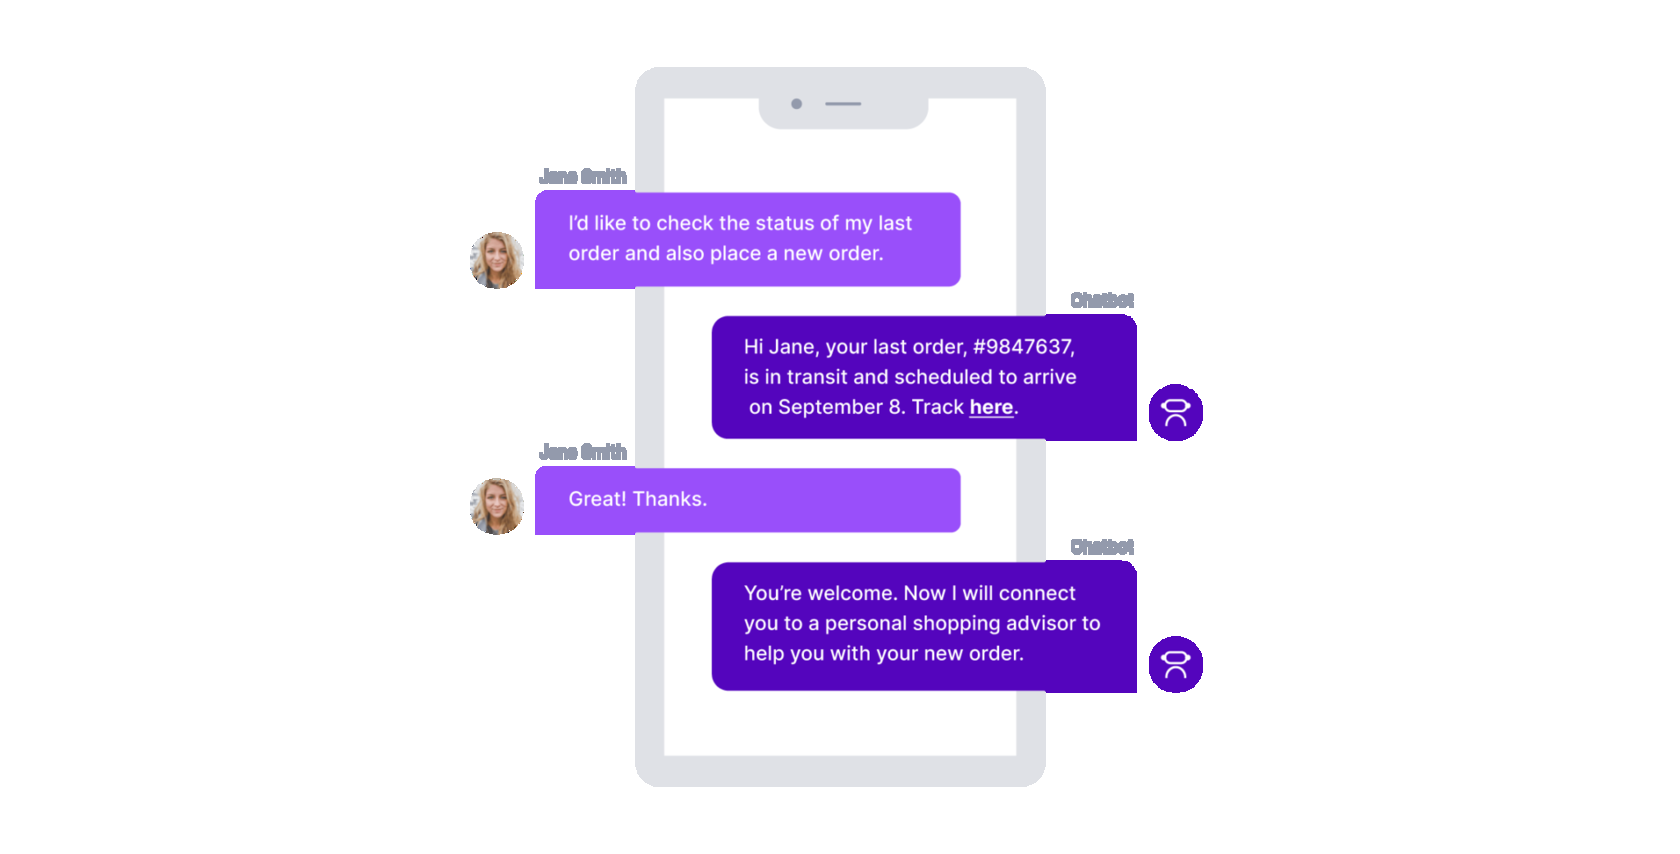
Artificial intelligence (AI) is rapidly taking over the way we interact with technology. From Siri to Alexa and Google Assistant, AI agents have become integral parts of our daily lives. Have you ever thought about having your own AI agent? It's not as difficult as you might think. Here's how to get started.
1. Determine Your Needs
First, identify the tasks you want your AI agent to perform. Do you need help with scheduling, reminders, or email responses? Or maybe you want an AI agent to help with home automation or monitoring. Once you have a clear idea of what you need, it's easier to find the best AI agent to meet those needs.
2. Choose an AI Platform
There are many platforms available that offer AI services, such as Google's AI Platform, Microsoft's Azure AI, and Amazon's AWS. Choose the one that suits your needs the best. Each of these platforms provides a variety of tools and services for businesses and individuals to develop, train, and deploy their own AI models.
3. Train Your AI Agent
Training your AI agent is a crucial step that involves defining the goals and objectives for the AI model. This can be done using pre-built models, custom models, or a combination of both. Pre-built models are easier to use, but they are not customizable. If you want a more personalized AI agent, you'll need to create a custom model.
4. Test Your AI Agent
Testing your AI agent is an essential step to ensure that it meets your needs. Testing helps to identify any errors or glitches that need to be fixed before deployment. This step involves thorough testing and troubleshooting to ensure that the AI agent works smoothly and efficiently.
5. Deploy Your AI Agent
Once you've tested your AI agent and made any necessary corrections, it's time to deploy it. This is the moment when your AI agent becomes functional and performs the tasks for which it was created. Deploying involves putting the AI model into production, where it interacts with users and fulfills its intended purpose.
Wrapping Up
Getting your own AI agent might seem daunting, but with the right planning and implementation, it's entirely doable. Follow these steps, and you'll have your very own AI agent in no time, ready to take on tasks and help you lead a more efficient and productive life.
Essential Insights:
Three-Word Highlights
AI, creation, process
Winners & Losers:
Pros:
1. Having your own AI agent can save you a lot of time and effort, as it can automate various tasks and provide you with helpful suggestions and recommendations.
2. AI agents can learn from your behavior and preferences, which means they can become increasingly personalized and effective over time.
3. With an AI agent, you can access information and insights quickly and easily, without having to manually search for them yourself.
Cons:
1. AI agents may not always be accurate or reliable, and they can make mistakes or provide incorrect information.
2. There is a risk of privacy and security breaches when using an AI agent, as it may have access to sensitive information and data.
3. Depending too heavily on an AI agent can lead to a loss of critical thinking skills and decision-making abilities, as well as a lack of human interaction and connection.
Bottom Line:
The bottom line is that getting your own AI agent through OpenAI Master can revolutionize the way you work and increase productivity, ultimately leading to greater success in your endeavors.

Ref.
Source
Join The Conversation!


